
Good morning to all! Bringing you a different kind of post on this dreary October Monday. My husband and I had another couple over for dinner on Saturday night, and I thought I'd highlight a few items from our evening and share some tips on hosting, cooking, and making a lovely little tablescape that is NOT fussy, NOT obnoxious, and not hard at all to do!
First of all, try to do as much of the prepping, cooking, table-setting as early in the day as you can. You might think this goes without saying, but not for me. I am often guilty of making several things that have to be done right before serving, or having two separate dishes that have to have the finishing touches at the same time, right before they hit the table. Soon I'm a sweating, stressed mess. Why do this to yourself if you don't have to?? Same goes with setting a pretty little table.
I have never been one for floral arrangements at a dinner party. Seems like an old-fashioned idea, but then I realized it doesn't have to be. And it doesn't have to be an expensive one either. I got this out of the way very early in the afternoon on Saturday.
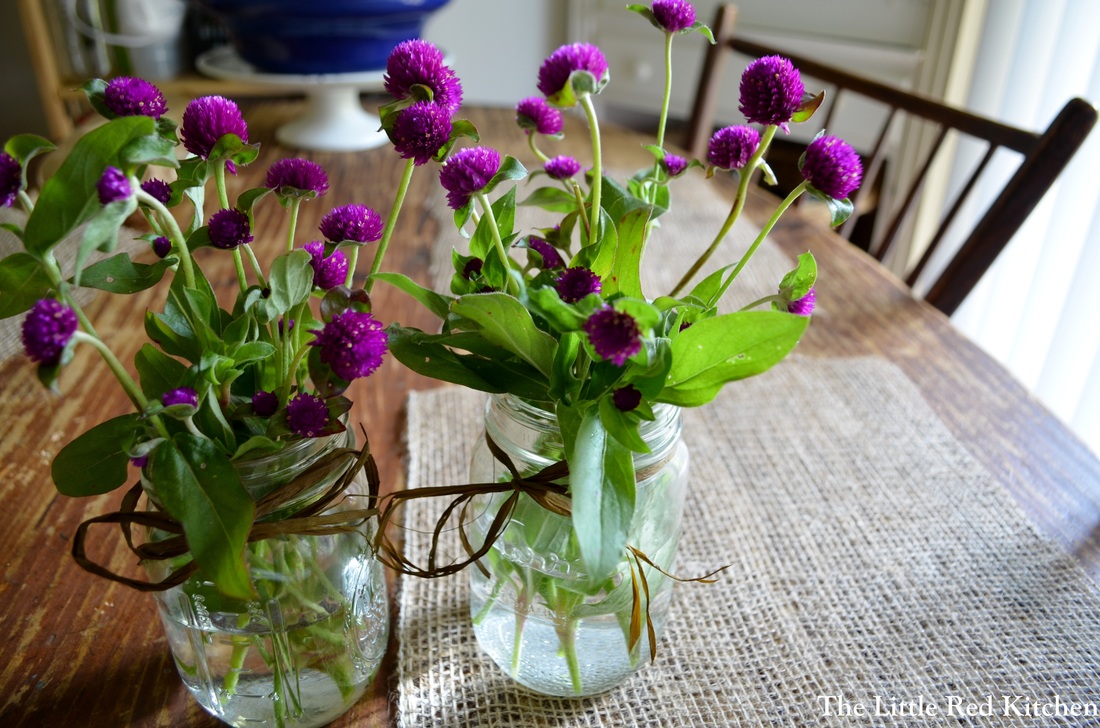
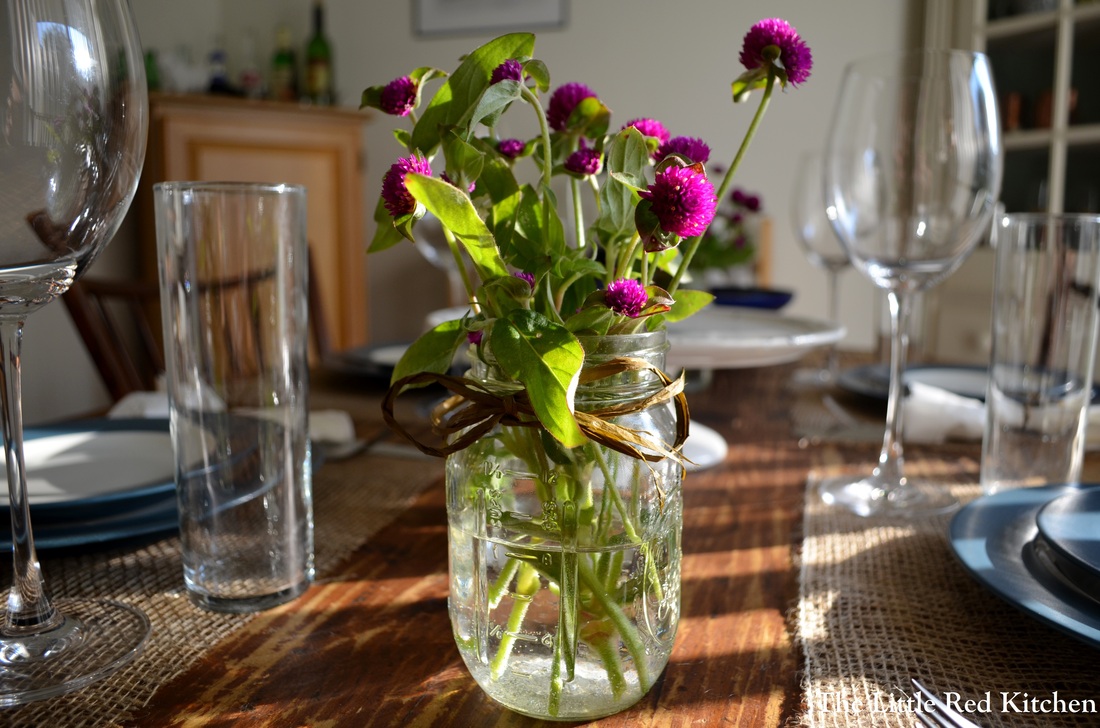
I just went to Produce Junction and scoured their bouquets, avoiding things like roses, carnations, and pre-arranged mixes of different Autumn-colored flowers. I actually hate doing things seasonally...red, yellow, and orange in the Fall, pastels in Spring, reds, greens, and metallics in Winter. I have dinnerware with blue accents and a giant indigo serving bowl, so I figured these adorable, fresh, purple flowers would complete a great color scheme! The bouquet cost $2.50 (!!!!), and I filled these two mason jars, and still had enough leftover for two vases which are now in my living room and bedroom. A simple raffia bow around the mason jars adds that more subtle Autumnal touch.
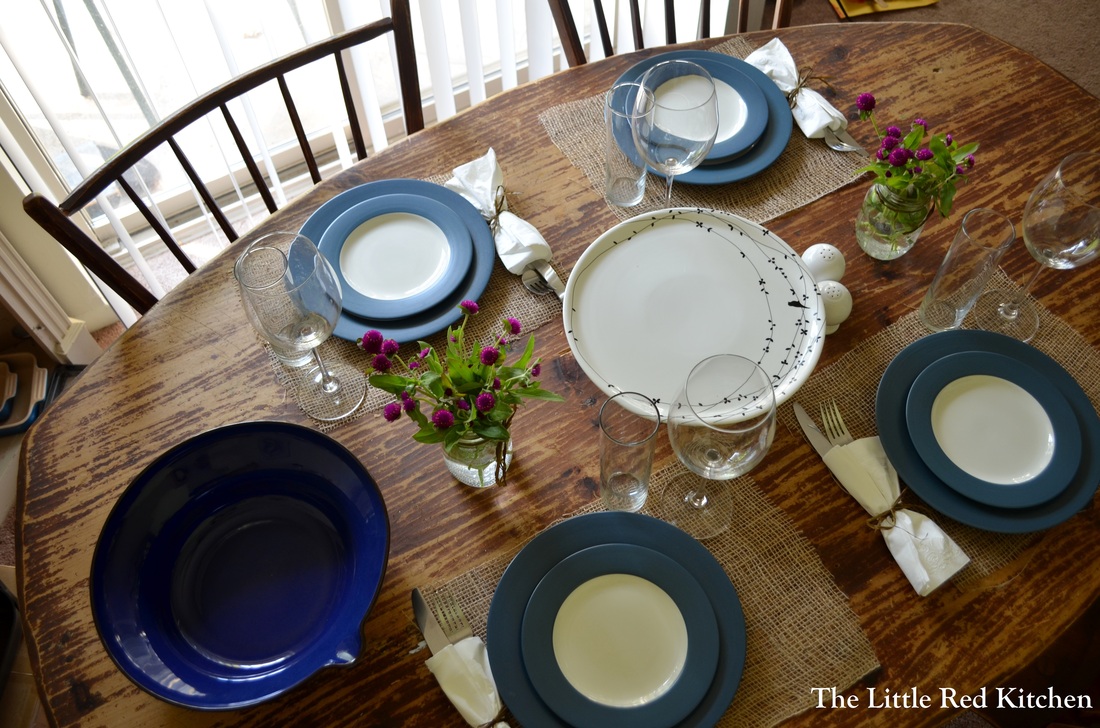
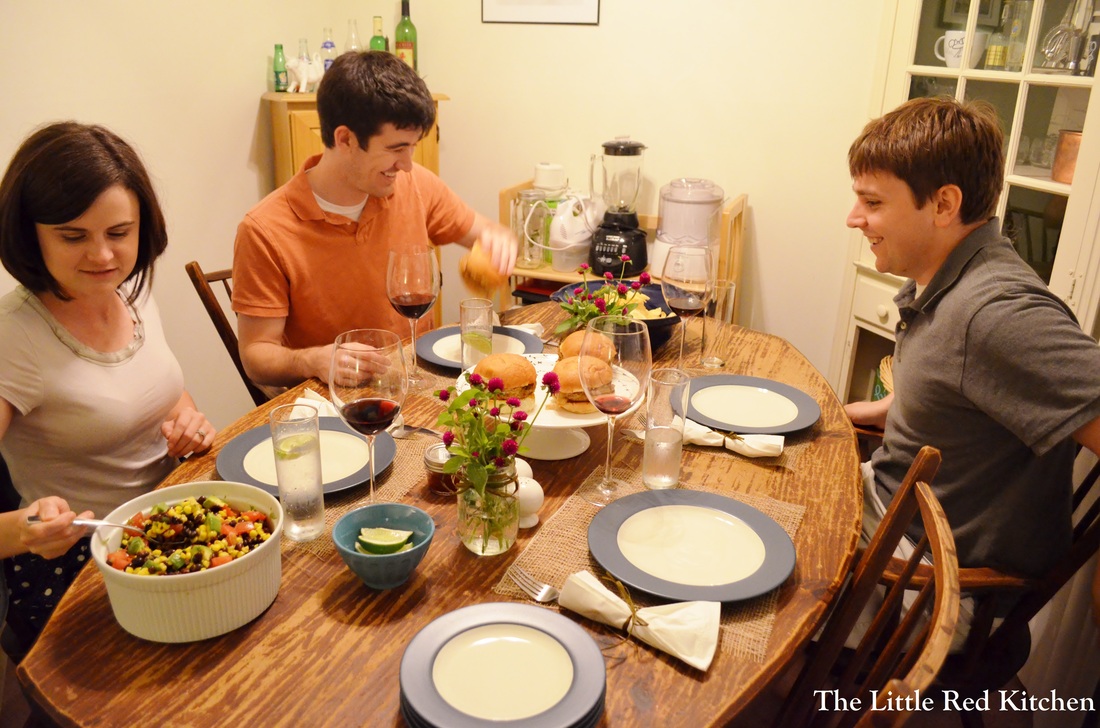
I inherited this giant dining room table and chairs from my husband; it's the table set of his childhood. And to be honest, I hated it for a long time. It's huge, and we live in a small apartment. The wood is so worn out from years of use by 3 kids. I had it covered with a tablecloth for over a year, and I somehow hated that more. It was old-fashioned. But one day I decided to take it off, and I saw the table in a whole new light! Earthy, loved, and yes, maybe giant, but even when we have people over, nobody is cramped, and everybody has room to put their elbows up. :)
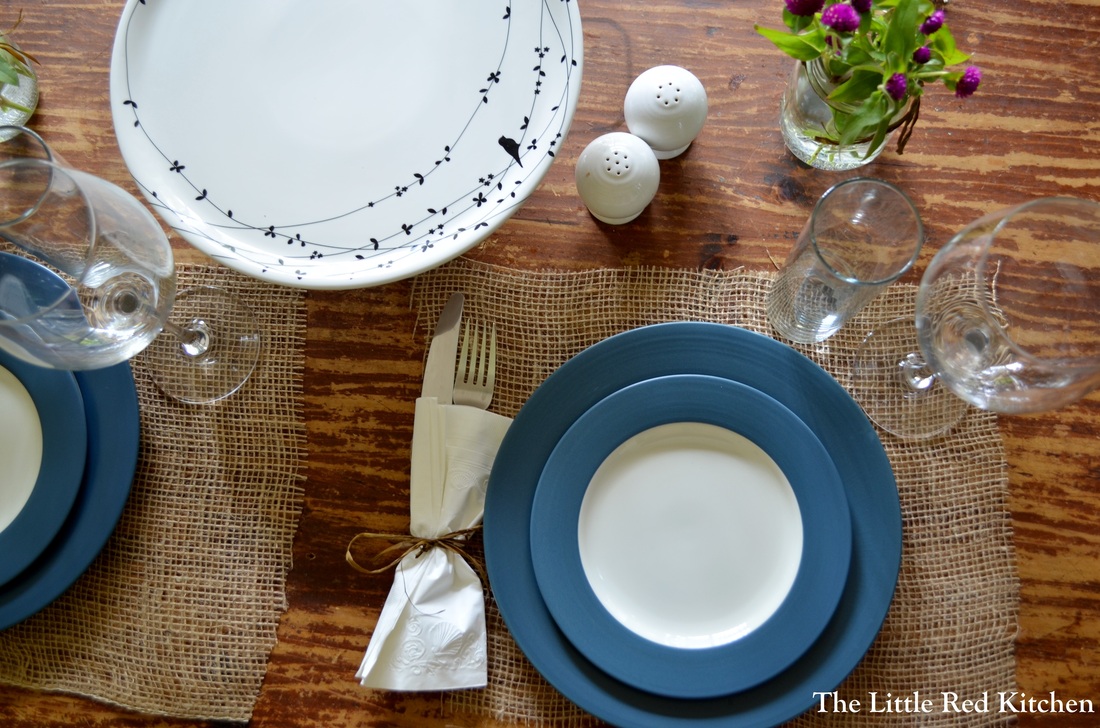
My husband happened to have a GIANT role of burlap from Home Depot, which he bought for gardening purposes, and I simply cut rectangles out of it for placemats. It adds a little textural element between table and plates, and is a nice natural accent. I love sort of "rough" accents to contrast pretty things like mason jars of flowers and my amazing porcelain cake stand with little birds on it, which I used as a serving platter for this dinner.

I didn't want to spend more than $10 dollars on this table, that was my goal. So I was not about to shell out money for cloth napkins, which, at 26 years old, I do not own yet. Instead I just tucked the silverware into long paper napkins and secured with a raffia bow. A small detail that adds another subtle something to the table.

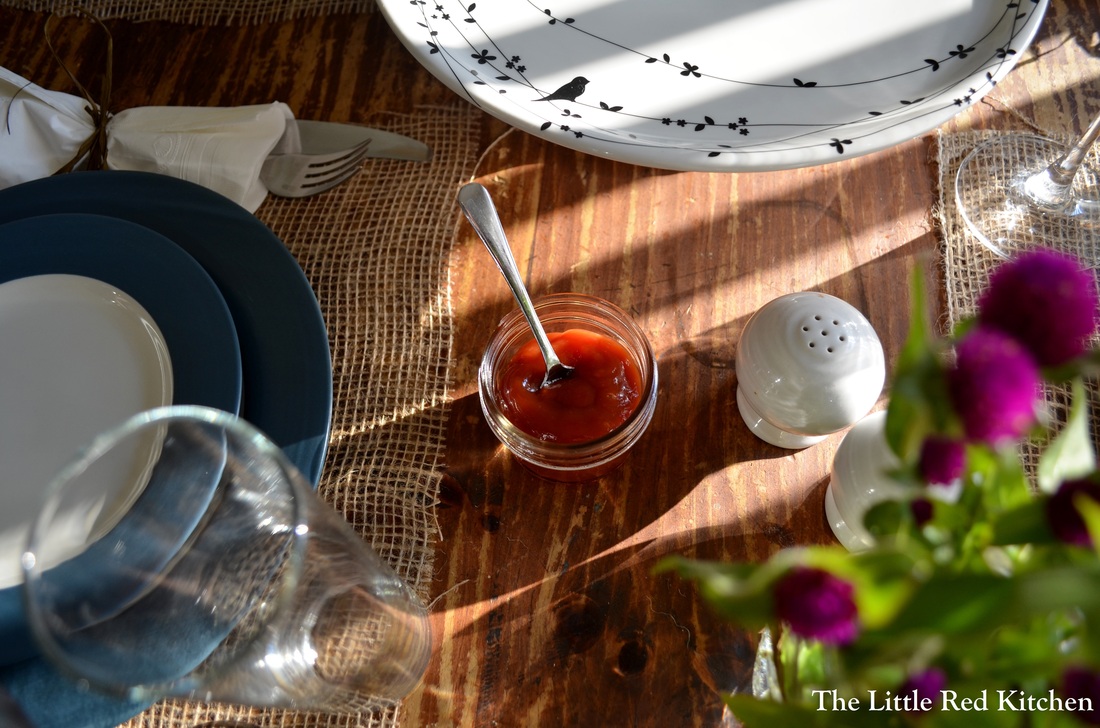
Yes, that is ketchup in a miniature mason jar with a small silver spoon. I just kept the lid on for the afternoon and took it off at meal time.
I don't have a lot of serving bowls, and the mixing bowls I usually use as serving bowls did not fit into my color theme...it wouldn't have been a huge deal, but then I remembered my large soufflé dish tucked away in the cabinet and used that instead. I love the crisp white look, and it makes food pop. If you ever do invest in serving dishes, like I will someday, I highly recommend simple all white! And in the mean time, improvise and use whatever you have on hand!
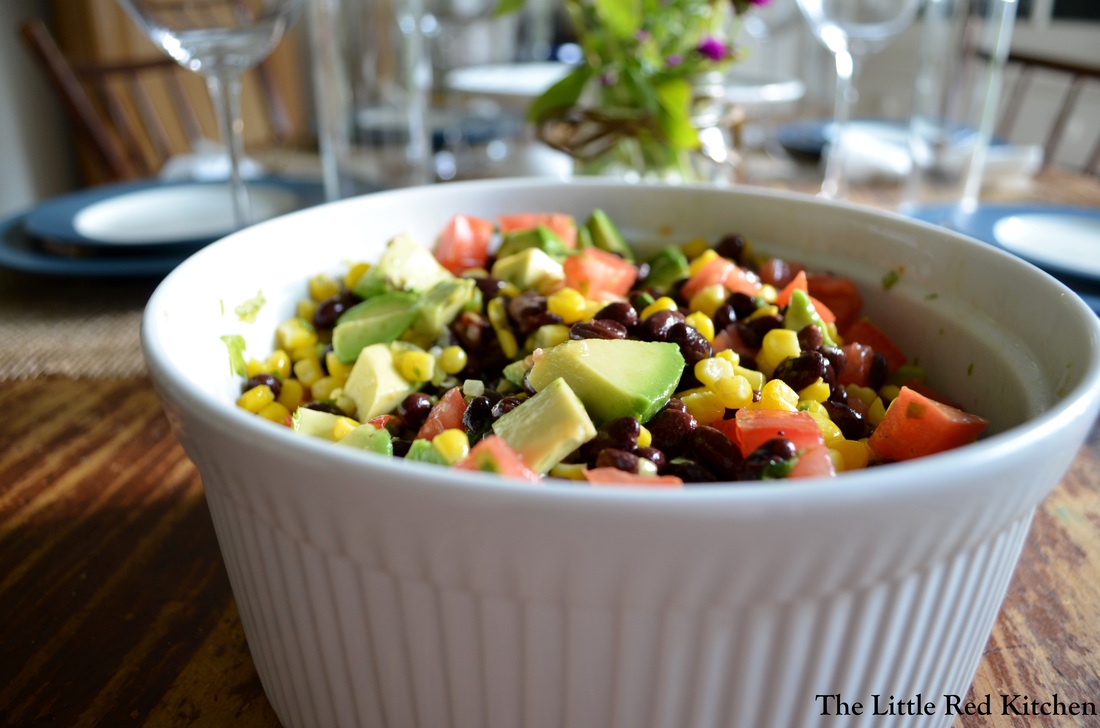
As you can see, I had my side dish made way in advance, and just let it marinate in the fridge for the day, and I had my entire table set too. I was so relaxed by the time company came, and instead of being in the kitchen whipping things up, I could enjoy appetizers and drinks like everybody else!
As you can see, I had my side dish made way in advance, and just let it marinate in the fridge for the day, and I had my entire table set too. I was so relaxed by the time company came, and instead of being in the kitchen whipping things up, I could enjoy appetizers and drinks like everybody else!
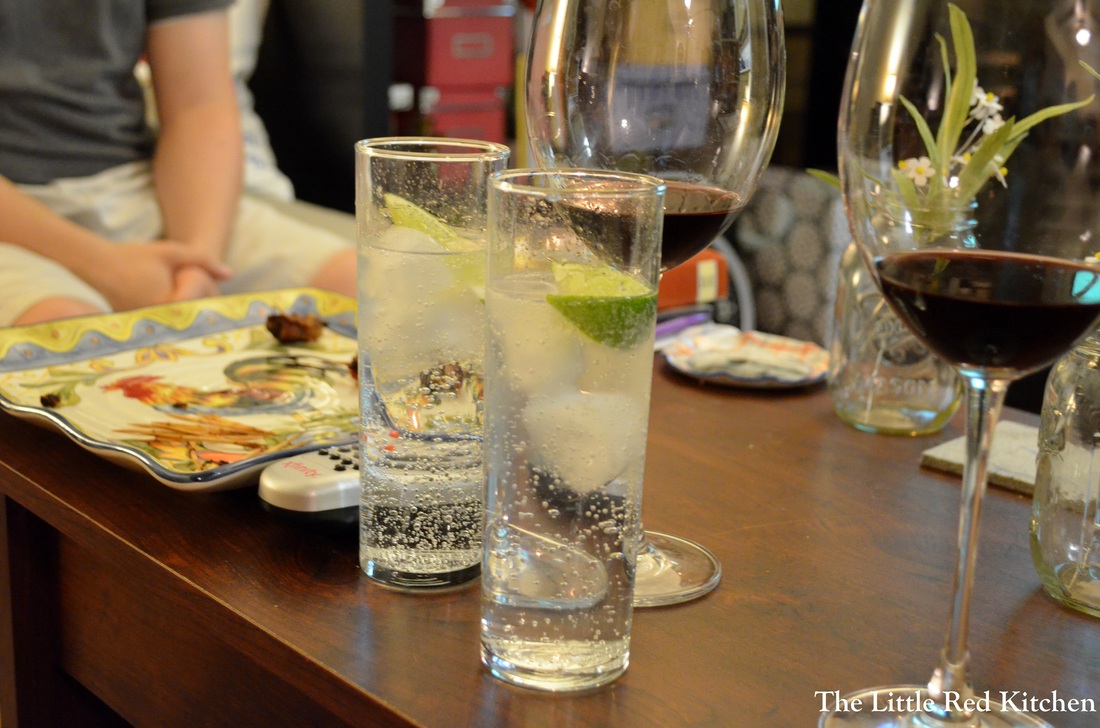
Another tip for dinner parties, let your friends/family contribute! If they are awesome, like our friends Dave and Lauren are, they are happy to bring an appetizer, dessert, or wine with them. Here you can see the remnants of dates wrapped in bacon and stuffed with blue cheese (can you say YUM?) and fresh glasses of Spanish red wine they brought to accompany the meal. And, as you can also see, we're drinking bubbley water! I was actually first turned onto drinking seltzer water by our friends at our last get-together, and with fresh lime juice it is surprisingly addictive! And just a little more special than serving still water. I highly suggest grabbing a 2-liter bottle for company, and leave out a cute little bowl of cut-up lemon and lime wedges.
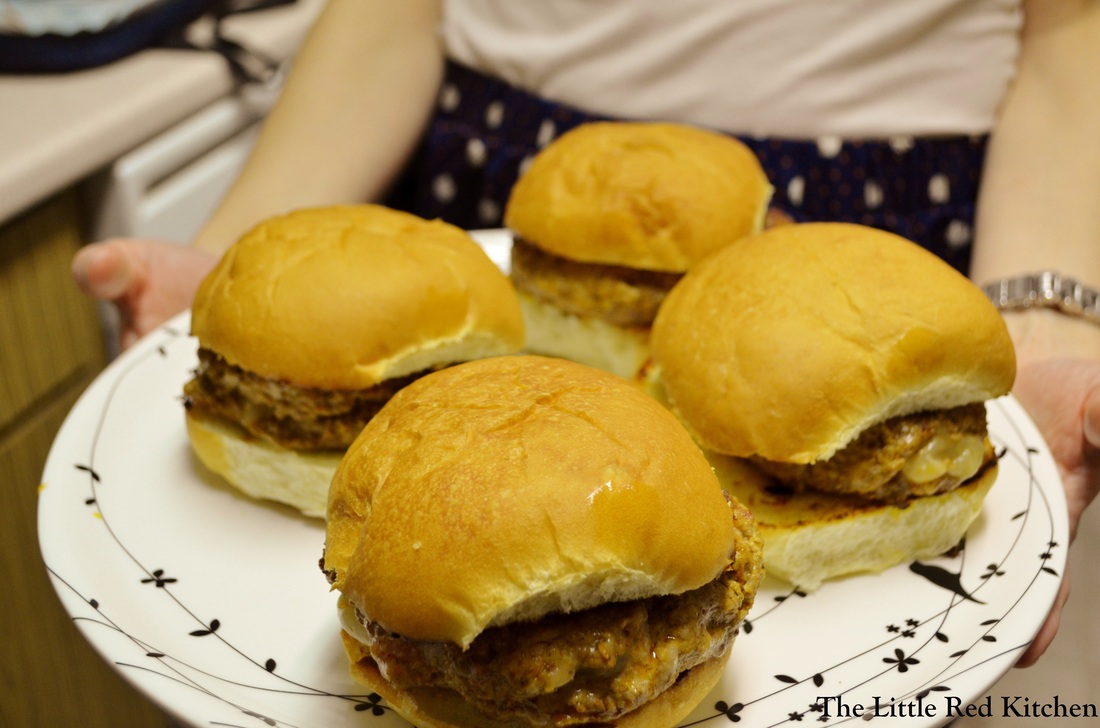
In keeping with the Spanish theme set by our tapas-inspired first course, I made pork burgers with Spanish spices and stuffed with Manchego cheese, which is only one of the best cheeses ever. But even better, I formed and stuffed the patties a couple hours before our guests arrived, put them on a baking sheet lined with parchment and covered them with plastic wrap and left them in the fridge. Literally the only thing I had to do once dinner rolled around was cook them in my nonstick skillet!
Instead of making French fries, or even heating up the apartment by baking frozen fries in the oven, I just bought a good bag of kettle-cooked chips and served them in my big indigo bowl. Which leads me to another tip, don't feel like you have to make every little thing from scratch! Use a pre-made appetizer, or buy your dessert from a great bakery, or just steam veggies for a side. The bag of chips was basically almost gone; after all, who doesn't love crunchy, salty chips with their burgers, even if the burgers are a little more high-brow? :)
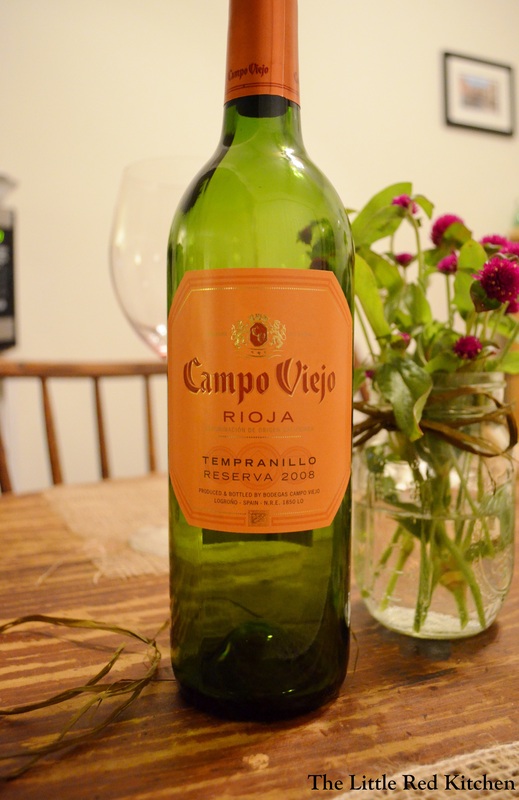
I told my friend Lauren she could bring a Spanish red wine, but don't feel like you have to be that matchy-matchy with your wine pairing. The old rules of red wine with red meat, white wine with fish, are basically gone. Drink what tastes good, and what you know your friends will enjoy too! Something else I love to do, make a big pitcher of one signature drink for the night.
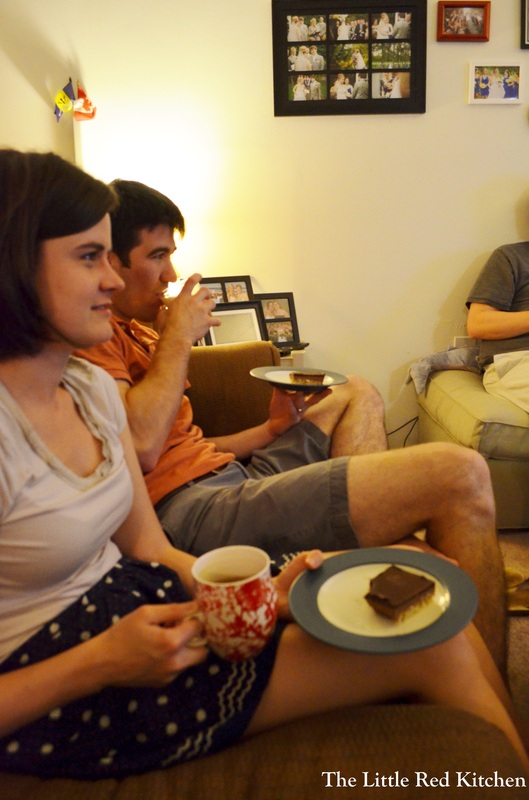
I love dessert time, not just because it's dessert, but because it's relaxed. You can retire to your living room and put your feet up. I love offering guests decaf coffee, a wide variety of hot teas, Baileys on ice, more wine, and even milk to go with super chocolatey desserts. Usually friends and family are hesitant to "make me" go out of my way to get them something, but I always insist, and I usually lead by saying that I'm going to have something too, which I think makes them feel better about it! As it turns out, both hot tea AND milk were the perfect complements to these homemade rice crispy bars with milk chocolate and peanut butter filling, and a dark chocolate top.
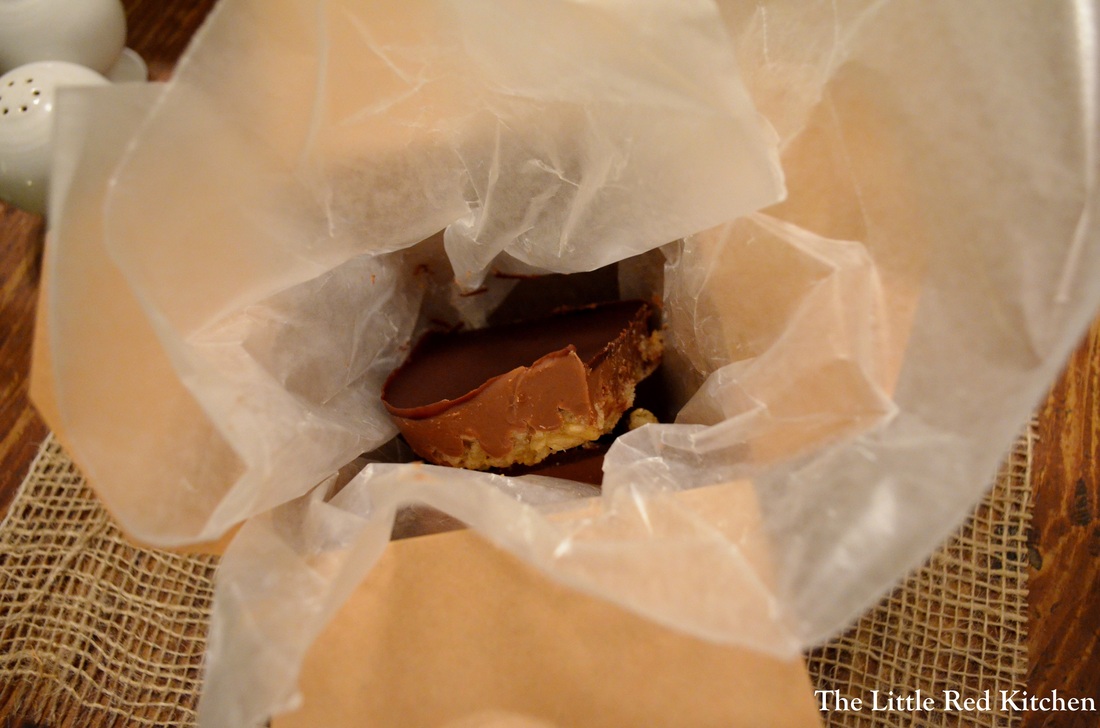
Just to up the cute entertaining factor, I bought a brown Chinese takeout box at the craft store, then lined it with wax paper and sent my friends home with two more rice crispy bars.
My husband and I make it a point to get together with Dave and Lauren for dinner about once every month or two, alternating between houses. We're lucky that they are not picky eaters and enjoy trying new dishes from all over the globe, just like us. It makes it easy to plan a menu and to bring things along when we go to their house. Make it a point to get to know your guest's food habits; then you can put things on the table that you know they will just love.
I hope you enjoyed this post, and hope it has given you some ideas for hosting dinner parties of your own!
~Lauren
P.S. If you want recipes for the burgers, the dessert, the appetizer, or the southwestern black bean salad, drop us an email or leave a comment below!


 RSS Feed